Nitta Headband
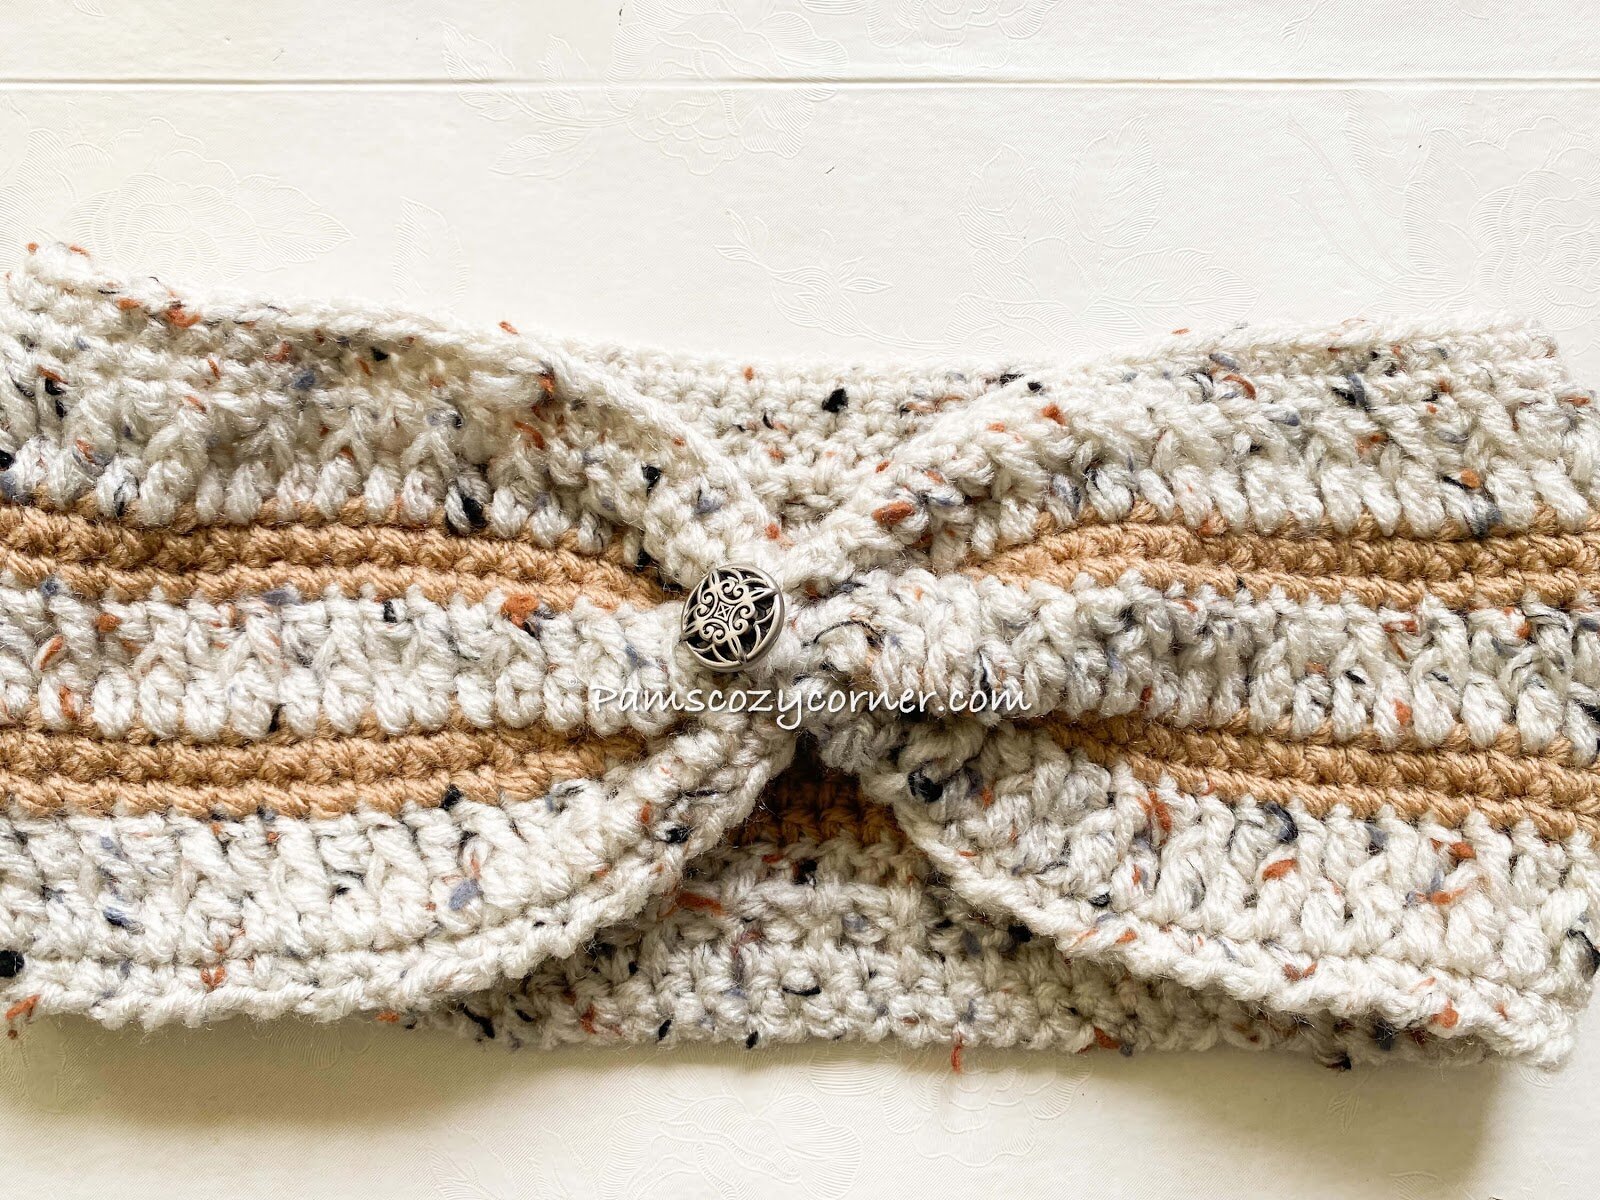
Remember how sometimes you walk outside and feel like your ears are about to fall off because of the cold? Sometimes you don’t even feel them! Well this stylish ear warmer is the answer for you
The headband is started with FSC and joined to the first stitch to make a ring. The band is then made in rounds, joined to the first stitch of the same row with a slip stitch. The stitches used include sc, dc, ch, and fpdc.
The band measures 4.5”, but it can be made as wide as desired. The front of the band is folded, sewn together, and finished off with the placement of a button. With this band, the button used is 1” wide. You can use any size of a button or wear it without a button if you desire.
Get the free pattern below or purchase the ad-free PDF version of this pattern on Etsy and Ravelry. The PDF is designed for printing and this way you can support me! And don’t forget to PIN IT on your Pinterest board.Materials
Redheart Super Saver Aran Fleck 5 oz/141 g, 260 yds/238 m (MC) weight 4 (worsted, medium)
Lion Brand Basic Stitch Anti-pilling weight 4, (worsted, medium) 100% Acrylic, 185yd/170m (3.0 oz/100g) Goldmine-Used double (folded) since the yarn is thinner (CC)
Hook size- 4.5 mm (US 7)
Amount of yarn used- MC 96 yds/88 m
CC 30 yds/28 m
Scissors
Tapestry Needle
Tape Measure
One Button-size 1”
Skill Level
Advanced Beginner
Gauge
15 sts x 10 rows (6 dc and 4 sc) = 4 in (10 com)
Finished Measurements
22 in x 4.5 in
Abbreviations
Fsc- foundation single crochet
st(s)- stitch(es)
Ch- chain
Sc- single crochet
Dc-double crochet
Sl st- slip stitch
Fpdc-front post double crochet
Rep-repeat
MC- main color
CC- contrast color
Special Stitch
Front Post Double Crochet (FPdc)
Yarn over (yo) and insert your hook from front to back between the posts of the first and second double crochet of the row below, and then from back to front again between the posts of the second and third stitches. Yarn over and draw the yarn around the post of the stitch (you now have 3 loops on the hook).Yarn over and draw the yarn through the 2 loops on the hook, twice
Notes
Remember how sometimes you walk outside and feel like your ears are about to fall off because of the cold? Sometimes you don’t even feel them! Well this stylish ear warmer is the answer for you
The headband is started with FSC and joined to the first stitch to make a ring. The band is then made in rounds, joined to the first stitch of the same row with a slip stitch. The stitches used include sc, dc, ch, and fpdc.
The band measures 4.5”, but it can be made as wide as desired. The front of the band is folded, sewn together, and finished off with the placement of a button. With this band, the button used is 1” wide. You can use any size of a button or wear it without a button if you desire.
Pattern Instructions
Fsc 75 join
Round 1: sc in each st to end and sl st to join
Round 2: ch 3 (counts as a st), dc in each st to end, sl st in top of ch to join
Round 3: ch 3, *dc in next st, fpdc in next st, rep from * to end, sl st on top of ch 3 to join
Round 4-5: With CC, ch 1, sc in next st and each st to end, sl st to join
Round 6-9: Rep round 2-5 once
Round 10-11: With MC, rep round 2-3
Round 12-13: With MC, rep round 4-5.
Fasten off and weave in ends
Fold the band anywhere in a zigzag manner (this will be the front), sew the folded site together, then sew on the pattern if desired. Cut off the yarn.


